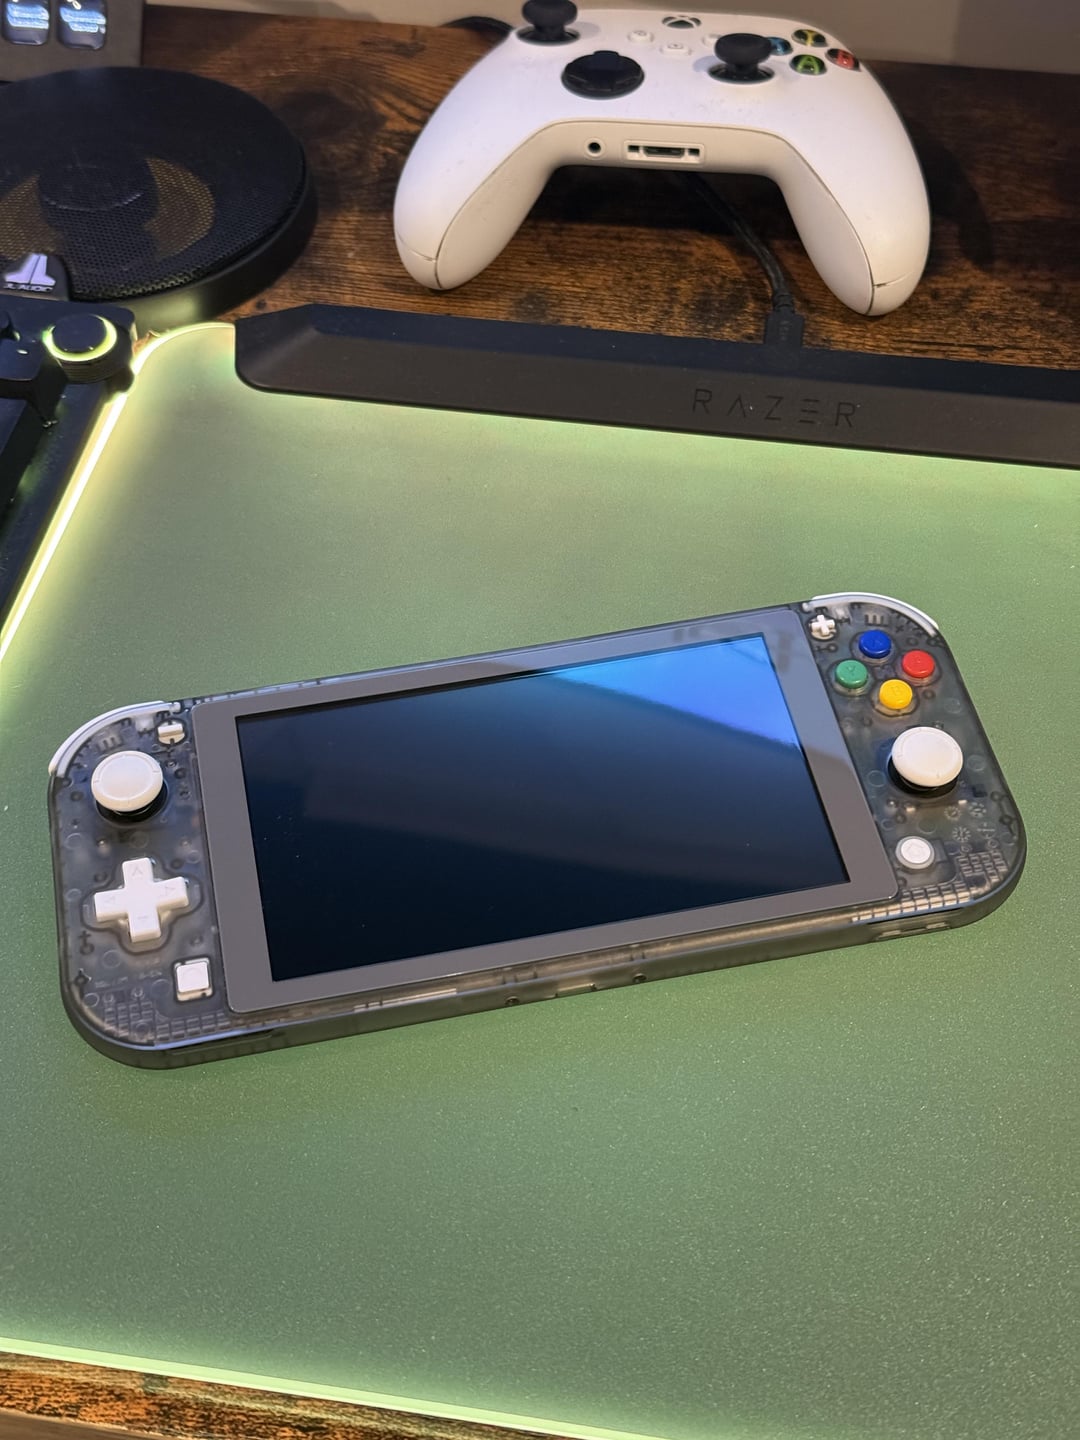
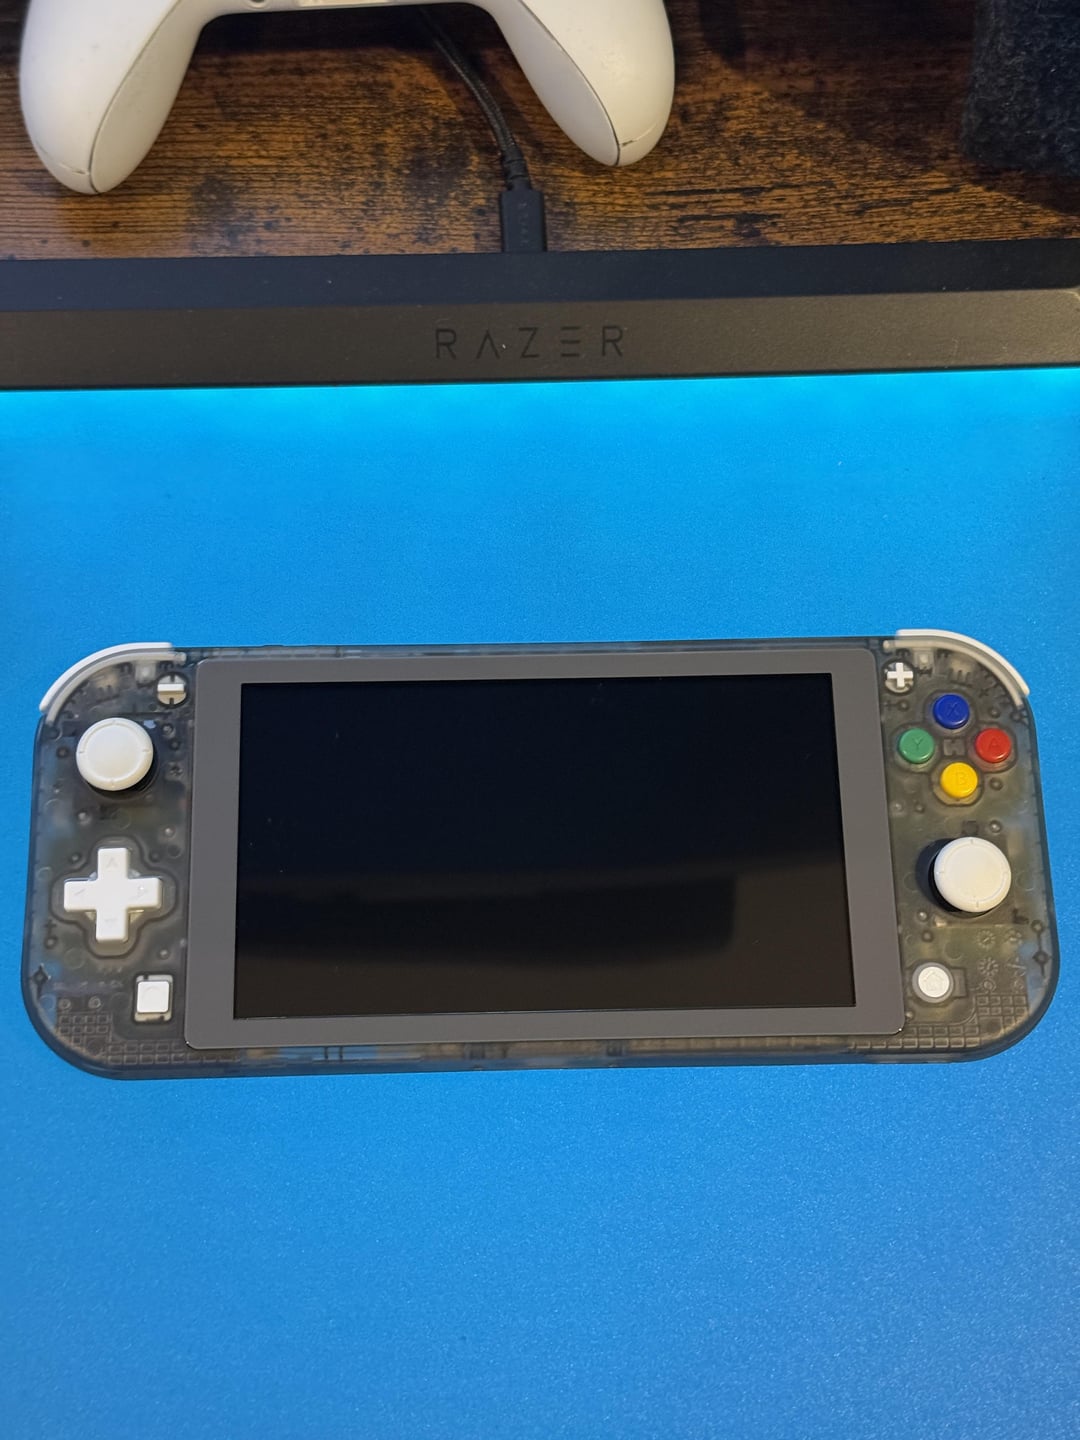
A couple of days ago I was doing a shell swap on my switch lite and was wondering if there was any way to add a rumble/haptic feedback effect, I thought about using Taptic engines and added them to my switch, it works remarkably well considering no rumble signals were ever installed in the switch hardware nor software wise, I will go in detail about the installation process below:
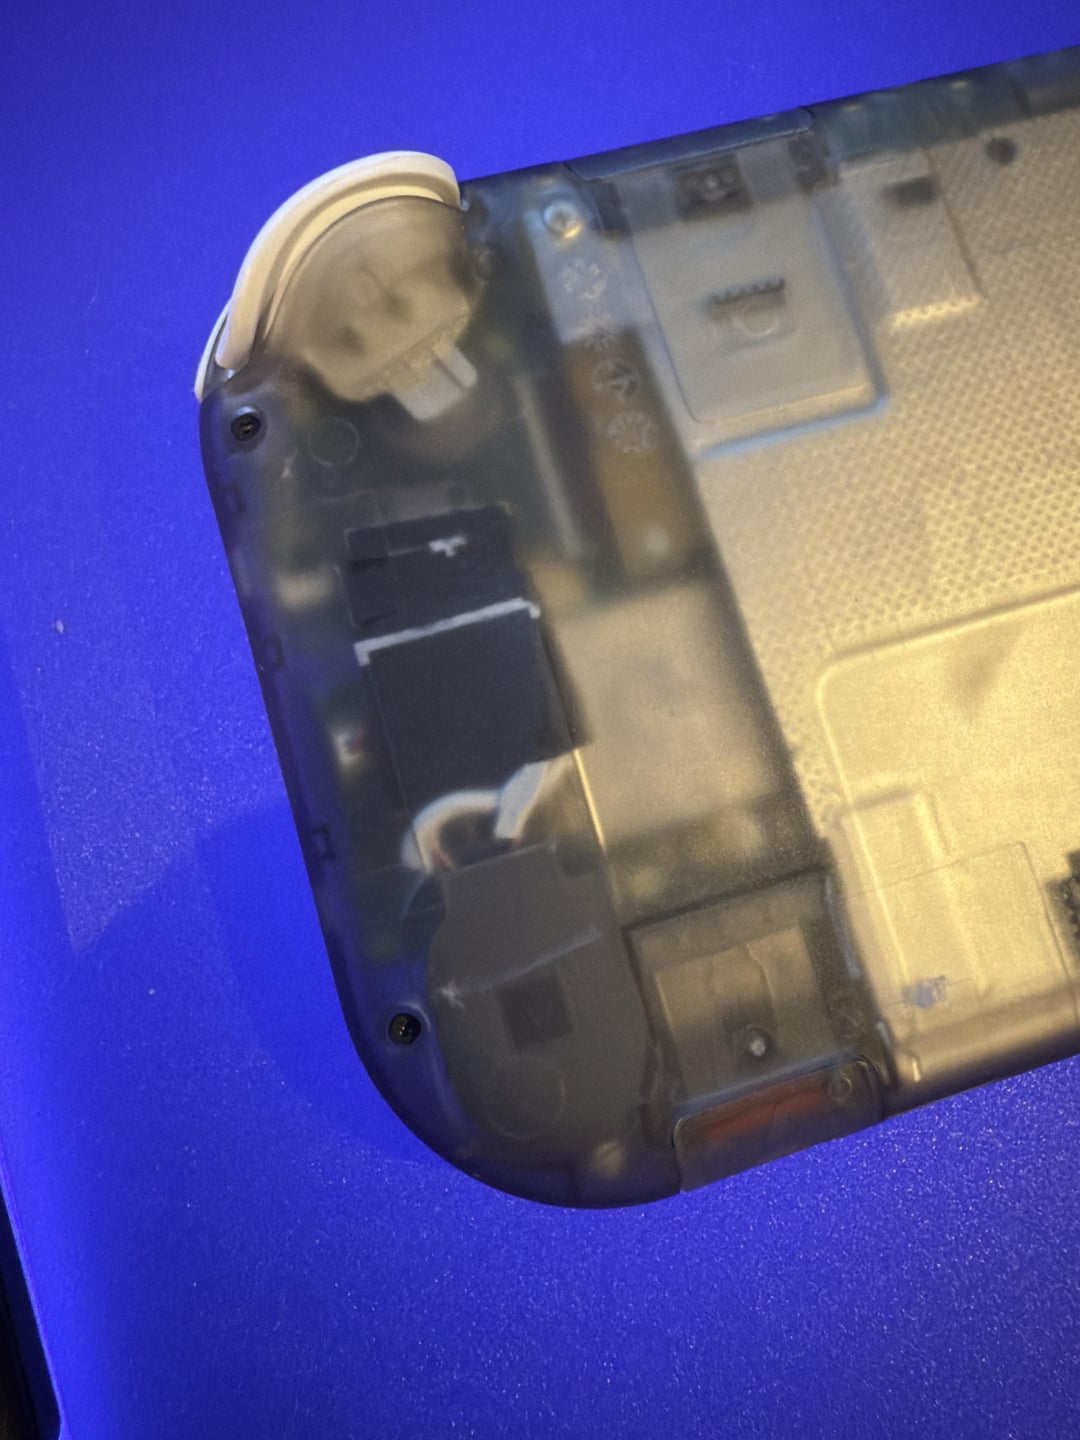
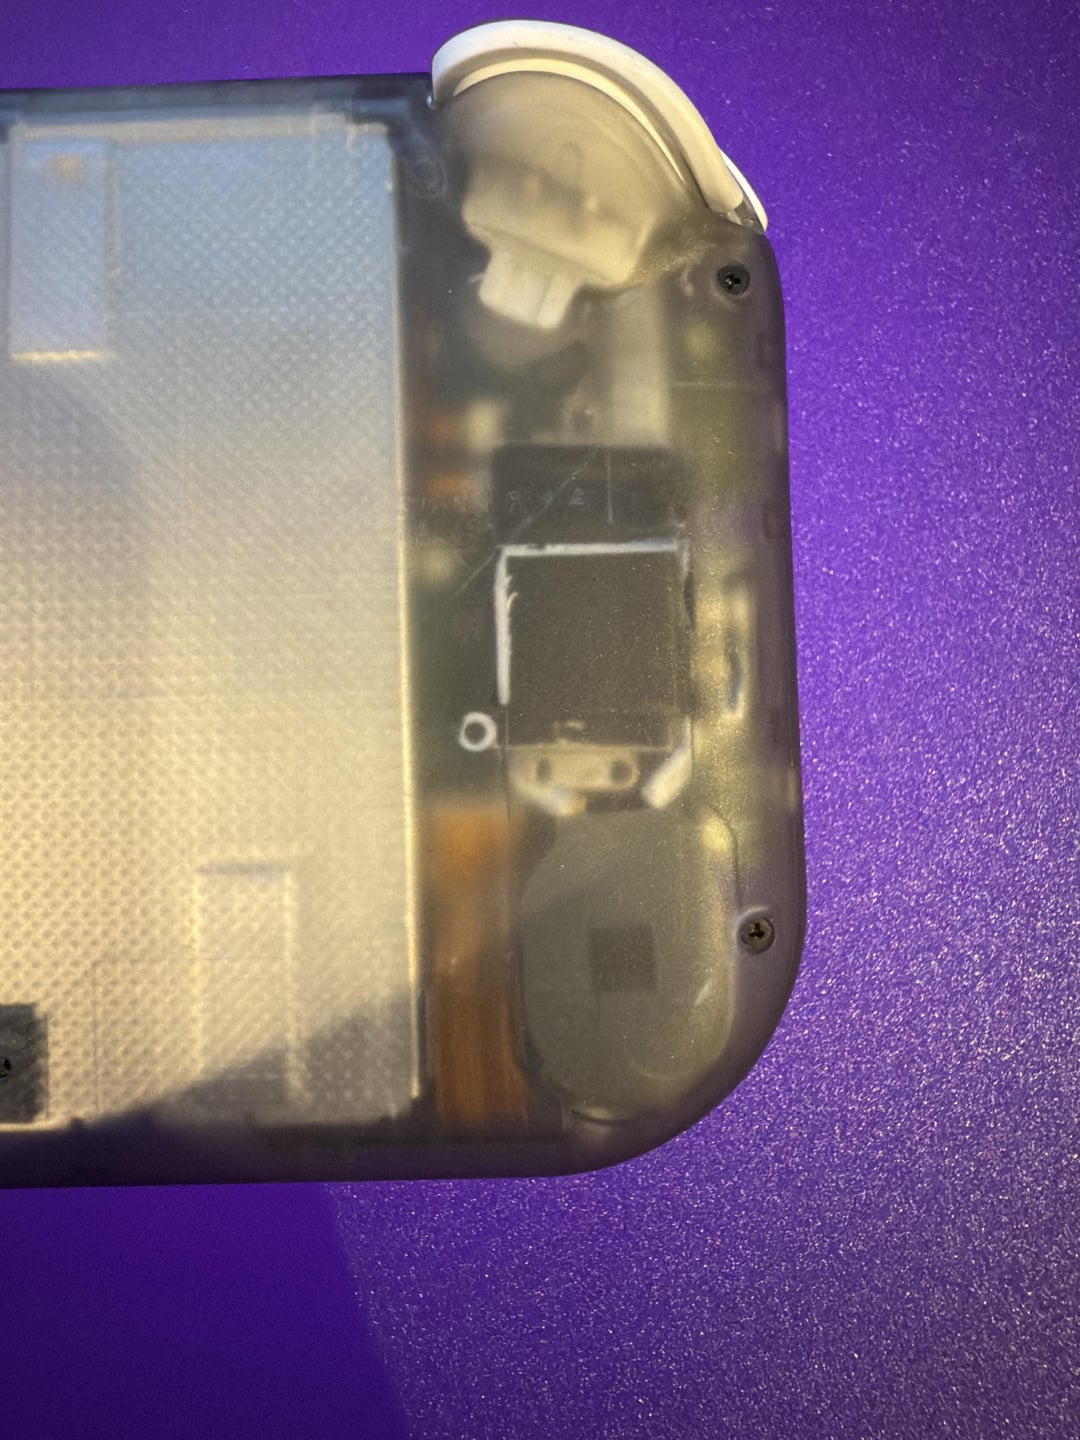
The first step was to find a haptic motor small enough to fit into the switch lite as the tolerances are next to nothing (almost as if Nintendo know how to utilise the available space in this thing), I first tested an iPhone 7 Taptic engine and discovered that it was too big and wouldn’t allow the case to be snapped shut, so I settled on iPhone 12 Pro Taptic engines as they are slightly thicker, but take up a much less overall footprint.
The next step was to figure out how these will be connected to the switch, anybody who knows a few things about Taptic engines will know that most models (excluding iPhone 13 and above) can all be soldered to directly as there are 6 hidden pads under some black ink, it has to be noted that soldering to Taptic engines is a long and tedious process that has to be done with care, soldering too hot or nudging a wire by accident can immediately rip off the pad rendering the Taptic engines useless, using the 2 outer pads, I soldered a wire to each of them and connected them directly to the speaker inside the switch, this can be done by removing the 4 screws which hold on the top cover of the speaker housing, connecting directly to the speaker allows for 2 things:
1: the functionality of the speaker is retained and audio still plays perfectly.
2: the audio signal delivered to each speaker is amplified, which can deliver enough to actually power the Taptic engines and generate a clear vibration through the case.
With that in mind, space was also an issue, so I trimmed the top section of the speakers as they were only used as air ducts (essentially for extra bass which the Taptic engines will now fill in for), doing this allows them to fit snugly into the case, you don’t want to use any padding like sponge here as this will dampen any vibration that will be delivered to the outer case, I used 2 layers of heat shrink to keep my wires in place and to make sure that no metal parts were making contact with the motherboard.
Once everything was in place, I snapped the housing shut and gave it a test, I opened Rocket League and was immediately greeted with haptic feedback from scrolling through the menu, when driving a car or hitting the ball, the vibrations are relatively impactful as the Taptic engines can receive any audio frequency and deliver an impressive output through a vibration, including audio frequencies that cannot normally be heard through the regular speakers.
Now for the part where I tell you the potential cons of doing this:
1: the Switch’s battery life may decrease faster as we now have 2 additional devices using power, however I haven’t personally noticed any differences.
2: as we tapped into the speaker connections, this of course means that using your Switch’s volume rockers also alters the intensity of the vibration, however you can still feel a fairly significant vibration on around 30% and above.
3: depending on how well your solder connections are, this can make the switch more delicate than normal, so make sure the case doesn’t get twisted, bent or dropped from a significant height.
To conclude, this of course isn’t anywhere near as powerful as the haptics on the regular Switch joy cons, as we aren’t working with rumble signals but instead audio signals, however for people who love the Lite, this is a great mod and is very fun to use, well thanks for reading this essay of my trial and errors! And I hope you can give this a try successfully.
by jpotter124