
After about 2 months of playing this run off and on, I finally reached the credits. I wanted to nuzlocke and thought the most authentic experience of "not knowing what you're gonna get" was to make it a shinylocke rather that choose the strongest/most useful mons per area myself.
The start was nearly impossible. My starter obviously did not count. I chose the duck bc I like the evolved form the least and this way I wouldn't have to get annoyed at the weird dance it does. My first encounter was a Pawmi. For my second encounter I specifically went to the lakes to hunt for maybe a water pokemon, and otherwise there's good encounters around the water. So I got my water pokemon. Unfortunately it was Magikarp (I would be happy with it later, of course). Try to beat that first battle with just a Pawmi while level capped. I decided that rather than starting over and having to hunt for 2 shinies again I would allow healing items in battle only for that first Nemona fight (tutorial was obv not part of the actual run). The rest of the run had your standard Nuzlocke rules, no items in battle, one encounter per area, dupes clause, permadeath, not using the free switches etc. Everything went really well (couple mistakes that cost me some pokemon, but only like 3 before E4 and 1 in the E4, 1 against Penny) until I made several mistakes against Arven and again in the final Nemona battle that cost me a lot of deaths. I found no consensus on Area Zero and I decided to treat the areas between the stations as separate areas and good thing I did. Got half my team for the Sada battle in there with Farigiraf, Dugtrio and Flutter Mane (the most clutch encounter of all right in front of that final gate). Only lost Dugtrio in that fight.
Got incredibly lucky in some regards and incredibly unlucky in others. Early game Houndour survived by toughing it out a total of 3 times. On the other hand, until I hit area zero the best IV's I got was about 90, with most being below 60 with the worst possible distribution. Then I got my absolute clutch Flutter Mane with 149. Really saved me when Dugtrio left Sandy Shocks at 1 hp before dying which meant I couldn't safely switch in my (unfortunately heatproof) Bronzong to deal with Scream Tail like I planned. Without Flutter Mane I probably would've only had my Wigglytuff to finish off the fight while everyone else except for Bronzong was in the red with Roaring Moon outspeeding every single team member except for Kilowattrel.
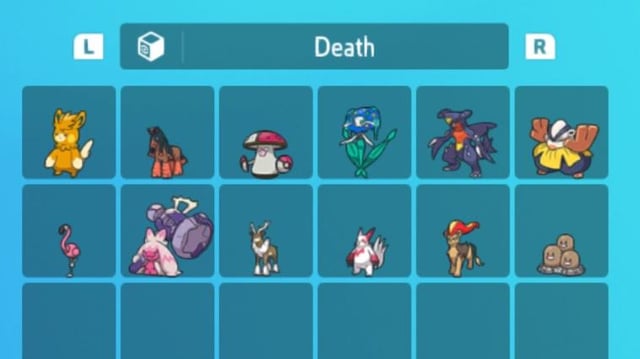
First image are my survivors, second image are the casualties. They should be roughly in order of their deaths I think.
(I tried to post it in the scarlet and violet sub, it got wrongly flagged as being about an event and autolocked by their automod whatever I tried to do, so I guess I'll try here)
by ThinningTheFog